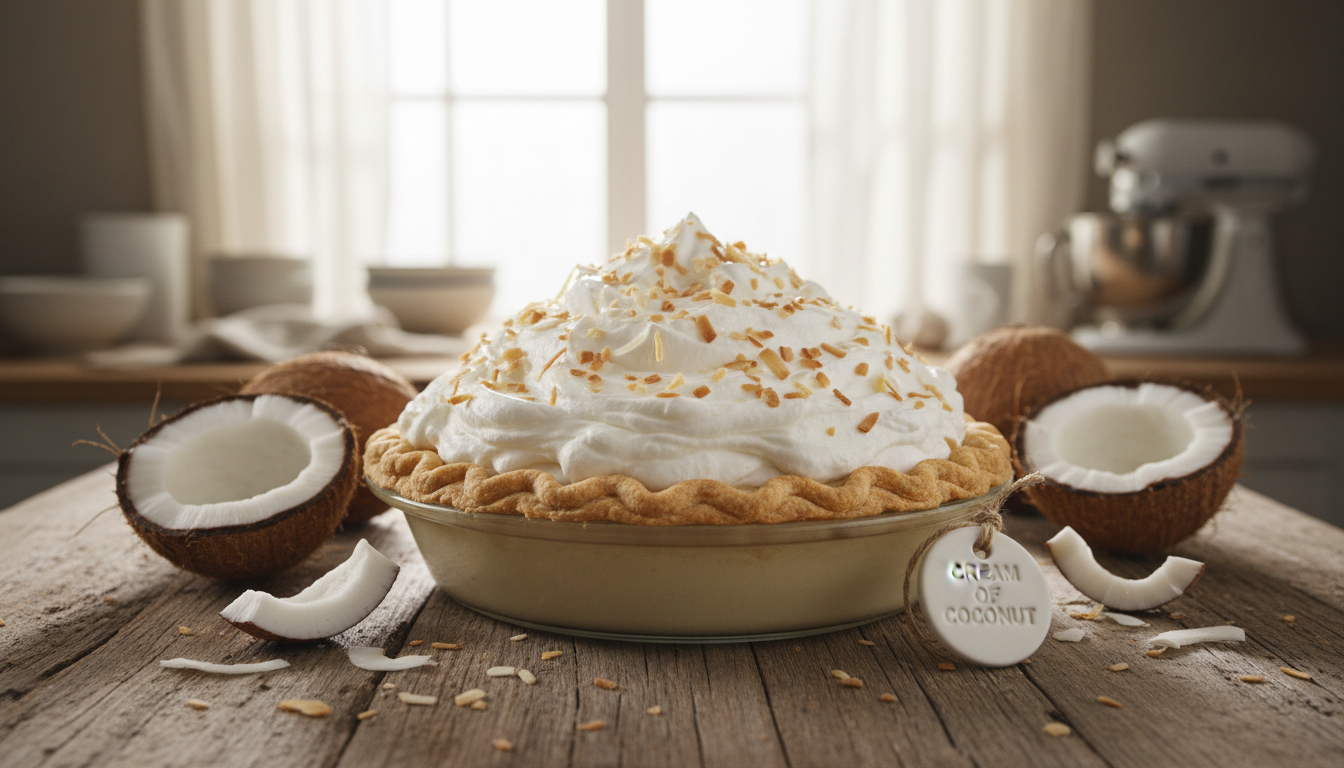
Coconut Pie Recipe with Cream of Coconut – Easy & Delicious
Ever wondered what makes a coconut pie recipe with cream so unforgettable? Imagine a dessert that takes you to a tropical paradise with every bite. It’s a homemade coconut cream pie that’s both elegant and comforting.
This Southern-style dessert is more than just a pie. It’s a journey that combines a buttery crust with a rich coconut custard and fresh whipped cream. Your taste buds are in for an amazing adventure.
Perfect for summer cookouts or family gatherings, this coconut pie is sure to be a hit. Whether you’re an experienced baker or new to the kitchen, making this pie is surprisingly easy.
Get ready to learn how to make a homemade coconut cream pie that will impress everyone. We’ll guide you through every step, from making the crust to adding the toasted coconut garnish.
Table of Contents
Why This Coconut Pie Recipe with Cream of Coconut Stands Out
Making the best coconut pie is more than just using common ingredients. This dessert turns a simple pie into a special treat. It will make your taste buds dance and take you to a tropical paradise.
The Secret Ingredient That Makes All the Difference
Cream of coconut is the key to this pie’s greatness. It’s different from regular coconut milk because it’s richer and sweeter. This makes every bite full of tropical flavor.
- Richer and sweeter than traditional coconut milk
- Provides deep, authentic coconut flavor
- Creates a luxurious texture in the pie filling
Pro tip: If your cream of coconut has hardened, just microwave it for about 30 seconds. This will make it smooth again.
Perfect Balance of Creamy Texture and Tropical Flavor
This pie’s magic is in its perfect balance. Each slice is like biting into a cloud. The filling is rich but also light, making every bite a joy.
“It’s like a taste of summer in every slice!” – Dessert Enthuasiast
Whether you love coconut or are just curious, this pie will win you over. Its flavors and texture are irresistible.
Essential Ingredients for Your Homemade Coconut Cream Pie
Making the perfect tropical coconut pie starts with top-notch ingredients. Your recipe needs a mix of key components. These work together to create a dessert you’ll never forget.
Filling Essentials
The creamy filling is the heart of your pie. Here’s what you’ll need:
- 1 cup cream of coconut (the flavor foundation)
- 2 cups milk (whole milk works best)
- 3/4 cup granulated sugar
- 4 egg yolks
- 1/4 cup cornstarch
- 1 teaspoon vanilla extract
- Pinch of salt
Texture and Flavor Boosters
For a better pie, add these extras:
- Sweetened flaked coconut for filling texture
- Optional coconut extract for intense tropical flavor
- Unsweetened coconut flakes for garnish
Whipped Cream Topping
The topping makes your pie special. You’ll need:
- 1 cup heavy whipping cream
- 1/2 cup powdered sugar
- 1/2 teaspoon vanilla extract
Choosing the best ingredients turns a simple dessert into a showstopper. Your tropical coconut pie will wow everyone.
Preparing Your Perfect Pie Crust Foundation
Starting your easy coconut pie recipe with a great pie crust is key. The right crust can make a simple dessert into a masterpiece.
Your pie crust is vital for a successful coconut cream pie. It affects the texture, taste, and how well it holds up.
Blind Baking for a Flaky, Golden Crust
Blind baking makes your crust flaky and golden. Here’s how to get it right:
- Preheat oven to 425°F
- Position rack on lowest oven setting
- Roll dough on lightly floured surface
- Transfer to 9-inch deep dish pie plate
- Trim edges, leaving 1-inch border
- Crimp edges for a pro look
Store-Bought vs. Homemade Crust Options
Your coconut pie recipe works with both homemade and store-bought crusts. Here’s a quick look:
| Crust Type | Pros | Cons |
|---|---|---|
| Homemade | Superior flavor, custom texture | Time-consuming, requires skill |
| Store-Bought | Convenient, consistent | Less personalized, slightly less flavor |
Pro tip: No matter your crust choice, let it cool for at least an hour before adding the filling. This avoids a soggy bottom and ensures a perfect slice.
“The crust is the foundation of any great pie – treat it with care, and your dessert will shine!” – Pastry Chef Recommendation
Creating the Luscious Coconut Custard Filling

Making the perfect coconut custard pie is all about precision. The filling is the heart of your pie, turning it into a tropical treat.
Start by getting these key ingredients:
- Cornstarch
- Granulated sugar
- Salt
- Whole milk
- Heavy cream
- Cream of coconut
- Egg yolks
- Vanilla extract
- Unsalted butter
- Sweetened coconut flakes
The secret to a smooth filling is in a medium saucepan. Mix dry ingredients first to avoid lumps. Gradually add your liquids and whisk until smooth.
Cooking is key. Use medium heat and stir constantly. It takes about 15 minutes for the custard to thicken. Tempering egg yolks is important: slowly add hot mixture to whisked yolks while stirring.
When the filling boils and thickens, stop cooking. Add vanilla, butter, and coconut flakes. This makes a creamy filling that brings your pie to life.
Mastering the Cooking Technique for Silky Smooth Results
Making the perfect delicious coconut pie needs skill and precision, mainly in the custard filling. The right cooking method can turn a simple pie into a memorable dish.
To achieve a flawless delicious coconut pie, you must grasp the key cooking methods. These ensure a silky smooth texture that will wow your guests.
Temperature Control and Constant Whisking
The secret to a perfect custard is in two main techniques:
- Use medium heat to prevent scorching
- Whisk continuously to distribute heat evenly
- Watch for subtle texture changes during cooking
Begin by cooking your custard mixture at a steady medium heat. Professional bakers recommend keeping a consistent whisking motion to avoid lumps.
Preventing Lumps and Achieving Perfect Consistency
For a smooth filling, pay close attention to detail:
- Thoroughly mix dry ingredients before heating
- Whisk constantly while the mixture heats
- Look for a pudding-like thickness
Pro tip: The custard should coat the back of a spoon and look glossy. Remove from heat right away when it’s the right consistency to avoid overcooking.
By sticking to these precise techniques, you’ll make a delicious coconut pie filling that will be a hit with your family.
Topping Your Pie with Homemade Whipped Cream
Adding the perfect topping to your homemade coconut cream pie makes it truly special. Homemade whipped cream adds a light, airy touch to the rich custard filling. It makes the pie even creamier.

To make the best whipped cream for your homemade coconut cream pie, you’ll need a few simple things:
- 2 cups heavy whipping cream
- 6 tablespoons powdered sugar
- 1/2 teaspoon vanilla extract
Getting the right texture is key. Chill your mixing bowl and whisk first. Then, pour the heavy cream into the mixer and start at low speed. Slowly go up to high speed, watching for these important moments:
| Whipping Stage | Appearance | Consistency |
|---|---|---|
| Soft Peaks | Slightly drooping | Begins to hold shape |
| Medium Peaks | Slight curl at the tip | Holds shape well |
| Stiff Peaks | Stands upright | Firm and stable |
Pro tip: For the best homemade coconut cream pie, aim for medium to stiff peaks. This makes your whipped cream top the pie beautifully without falling.
“The secret to perfect whipped cream is patience and attention to detail.” – Pastry Experts
When it’s time to serve, spread the whipped cream over the pie. Use a piping bag for fancy designs. Add toasted coconut flakes for a beautiful finish to your homemade coconut cream pie.
Adding the Finishing Touch with Toasted Coconut Garnish
The final step in making the best coconut pie is all about how it looks. Toasted coconut makes your pie look amazing, adding both beauty and texture.
How to Toast Coconut Flakes Without Burning
Toasting coconut flakes needs careful watching. You can use two easy ways to get that perfect golden color:
- Broiler Method:
- Spread coconut in a single layer on a cookie sheet
- Place on top oven rack
- Turn on broiler
- Watch constantly – coconut burns quickly
- Remove when edges turn golden brown
- Oven Method:
- Spread flakes on baking sheet
- Bake at 350°F for 5-7 minutes
- Toss flakes occasionally
- Remove when uniformly golden
Creating Visual Appeal with Swooping Cream Mounds
Your coconut pie needs a fancy finish. Use these tips to make your pie look professional:
| Technique | Description |
|---|---|
| Smooth Layer | Spread whipped cream evenly across pie surface |
| Swooping Mounds | Use spatula to create dramatic peaks and curves |
| Garnish | Sprinkle toasted coconut generously over cream |
Pro tip: Clean your knife between slices. This keeps your cuts looking sharp and shows off your pie’s layers.
Make-Ahead Tips and Storage Guidelines
Your coconut cream pie recipe is perfect for advance preparation. It’s great for busy home bakers and entertainers. The beauty of this tropical treat lies in its make-ahead ability, allowing you to plan ahead with minimal stress.

When preparing your coconut cream pie, consider these strategic make-ahead techniques:
- Pie Crust: Bake up to two days in advance and store at room temperature
- Filling: Prepare and chill for 1-2 hours before serving
- Whipped Cream: Add just before serving for optimal texture
Storing your coconut cream pie requires careful attention. Refrigerate the pie tightly wrapped in plastic wrap for up to 3 days. If you want longer storage, freezing is an excellent option.
Freezing your coconut cream pie is straightforward:
- Assemble pie without whipped cream topping
- Wrap tightly with plastic wrap
- Cover with heavy-duty aluminum foil
- Freeze for up to 3 months
When ready to serve, thaw the pie overnight in the refrigerator. Prepare fresh whipped cream, top the pie, and garnish with toasted coconut flakes. This will make your dessert look stunning and taste like it was just made.
Serving Suggestions and Pairing Ideas for Your Tropical Dessert
Your tropical coconut pie is more than just a dessert. It turns any event into a special celebration. It’s perfect for summer gatherings, potlucks, and family dinners. Its cool, creamy texture brings instant refreshment.
Here are some great pairing ideas for your tropical coconut pie:
- Beverage Companions:
- Hot coffee for a classic contrast
- Tropical fruit juices
- Cold milk
- Side Dish Options:
- Fresh fruit salad
- Vanilla ice cream scoop
- Mixed berries
Pro tip: Take your tropical coconut pie out of the fridge 10-15 minutes before serving. This lets the flavors come alive while keeping it cool.
For perfect slices, use a sharp knife and clean it between cuts. Whether it’s a summer party or a cozy dinner, this pie will be the highlight of your dessert table.
Conclusion
Making the perfect coconut pie with cream of coconut is more than baking. It’s about making memories that last. Your journey through this dessert will turn your kitchen into a place of sweet happiness.
Home bakers have shared their love for this coconut pie recipe. It’s a true gem with flavors that take you back and a creamy texture that’s irresistible. Even those who are not fans of coconut will love every bite.
You now have a detailed guide to making this pie. It’s perfect for both new and experienced bakers. Trust yourself, follow the steps, and create a dessert that will be loved by your family.
We encourage you to try this recipe, make it your own, and share your creations. Your baking adventure is starting, and this coconut cream pie is your first step to making unforgettable memories.