Easy Ice Cream Recipe: Creamy and Flavorful
Ever wondered why homemade ice cream is so much better than store-bought? It’s because you can make a rich, creamy dessert with just a few ingredients at home.
Philadelphia-style ice cream is a simple solution for dessert lovers. You need only 5 ingredients: cream, milk, sugar, vanilla, and salt. It’s ready in under 10 minutes. And, there’s a 2-ingredient method using heavy whipping cream and sweetened condensed milk that doesn’t need any machines.
This guide will show you two easy ways to make top-notch ice cream. You’ll learn how to make unique flavors that are as good as any premium brand. Whether you’re new to cooking or experienced, these methods will take your desserts to the next level.
You’ll learn about the right ingredients and techniques to make smooth, creamy ice cream at home. Get ready to wow your friends and family with homemade ice cream that’s both easy and amazing.
Table of Contents
Why Homemade Ice Cream is Worth Making
Making your own ice cream is more than a fun activity. It’s a way to make your desserts better. You get to choose every ingredient, making your ice cream truly special.
Homemade ice cream is unmatched in quality and taste. You can make it just how you like it, with the ingredients you want. This means you can make a dessert that’s perfect for you.
The Store-Bought vs. Homemade Difference
Store-bought ice cream often has additives and preservatives. These can affect its taste and quality. Homemade ice cream, on the other hand, has big advantages:
- Complete ingredient transparency
- Elimination of artificial preservatives
- Fresh, high-quality dairy selection
- Ability to control sugar levels
Mastering Ingredient and Flavor Control
When you make ice cream at home, you can try new flavors. Using fresh ingredients makes your ice cream taste better. You can also adjust how sweet it is and make unique flavors.
Pro tip: Try using local, seasonal ingredients to make your homemade ice cream even better!
Essential Ingredients for the Perfect Ice Cream Recipe
Making delicious homemade ice cream starts with the right ingredients. The 5-ingredient method is a great place to begin. It needs 1¾ cups heavy cream, 1¼ cup whole milk, ¾ cup sugar, ⅛ teaspoon fine sea salt, and 1 tablespoon vanilla extract.
Each ingredient is key to your ice cream’s success. Sugar keeps it from turning into a solid block of ice. Fine sea salt adds depth to the flavor. Vanilla extract gives it that classic, irresistible taste.
- Heavy cream provides rich, luxurious texture
- Whole milk adds body and smoothness
- Sugar prevents ice crystallization
- Salt amplifies overall flavor
- Vanilla extract creates depth
For those who prefer simplicity, the 2-ingredient method is a great option. It uses 2 cups cold heavy whipping cream and 14 ounces cold sweetened condensed milk, plus 1 teaspoon vanilla extract.
| Ingredient Method | Key Components | Unique Characteristic |
|---|---|---|
| 5-Ingredient Method | Cream, Milk, Sugar, Salt, Vanilla | Traditional, Customizable |
| 2-Ingredient Method | Heavy Cream, Condensed Milk | Simple, Quick Preparation |
Try different measurements to find your favorite ice cream recipe. The quality of your ingredients affects the taste and texture of your homemade dessert.
Philadelphia-Style vs. Custard-Based Ice Cream
When making homemade ice cream, you’ll find two main methods. Each has its own traits and challenges. Knowing the difference between Philadelphia-style and custard-based ice cream helps you pick the right one for your project.

Exploring Ice Cream Making Techniques
Philadelphia-style ice cream is known for its simplicity. It doesn’t use eggs and only needs mixing and churning. This makes it easy for beginners to enjoy.
- No egg tempering required
- Quicker preparation process
- Lighter, more delicate texture
The Complexity of Custard-Based Ice Cream
Custard-based ice cream is more complex. It uses egg yolks for a rich flavor.
“Custard-based ice cream is like creating a culinary masterpiece in your kitchen”
This method involves tempering eggs and cooking a custard base. It’s more complex but gives a smooth result.
- Uses egg yolks for richness
- More complex preparation
- Denser, creamier texture
Choosing Your Ice Cream Style
Your choice depends on your skill level and what you want. Philadelphia-style is easy and great for a quick dessert. Custard-based ice cream is for those who want a richer, more luxurious treat.
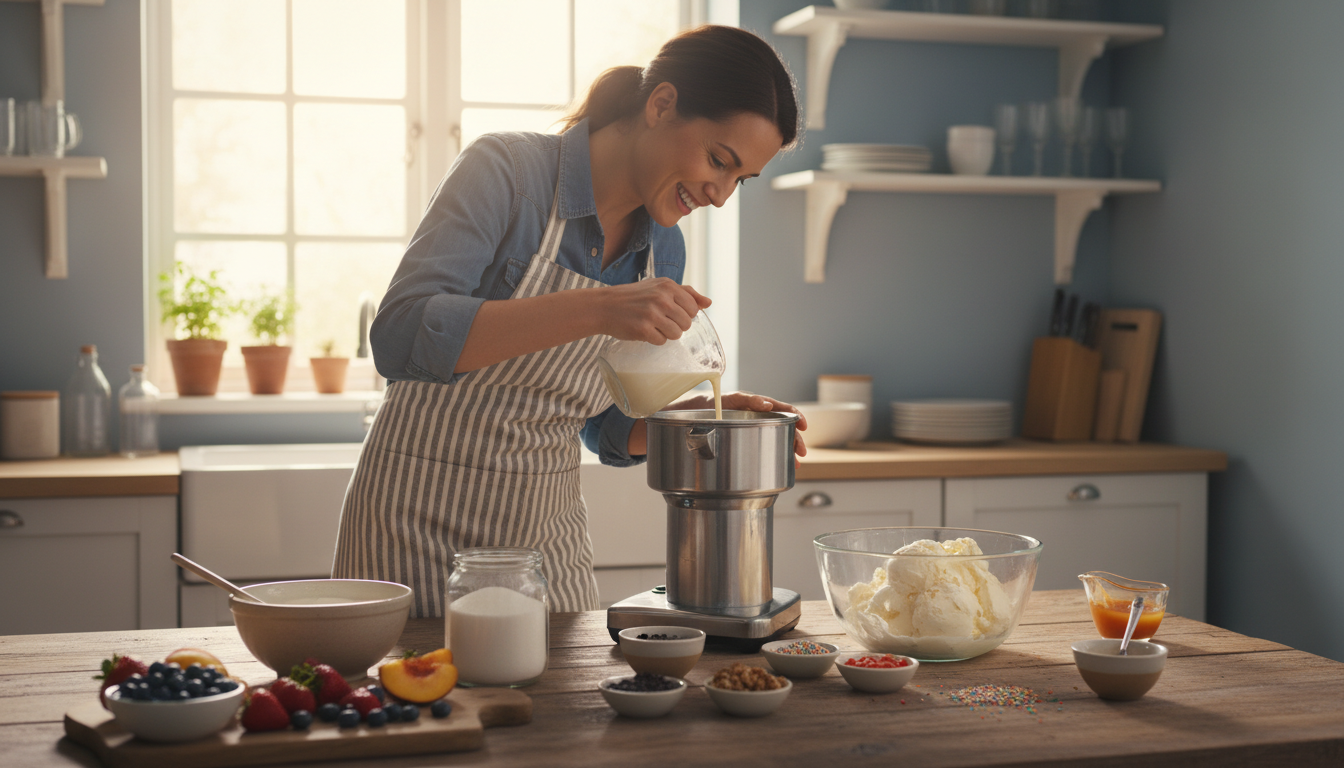
Step-by-Step Instructions for Making Creamy Ice Cream
Making homemade ice cream is simpler than you think. You can pick the Philadelphia-style or the 2-ingredient method. Either way, you’ll soon enjoy tasty frozen treats.

Philadelphia-Style Ice Cream Method
Here’s how to make classic Philadelphia-style ice cream:
- Start by mixing 1 cup cream, sugar, and salt in a saucepan.
- Heat it over medium until the sugar melts fully.
- Take it off the heat and mix in the rest of the cream, milk, and vanilla.
- Chill the mix in the fridge until it’s cold.
- Then, churn it as your ice cream maker says (20-30 minutes).
2-Ingredient No-Churn Method
For a quicker way, try the 2-ingredient method:
- First, whip cold cream until it’s soft.
- Next, mix in cold condensed milk.
- Whip it again until it’s stiff.
- Add vanilla extract.
- Freeze it for at least 6 hours.
| Method | Preparation Time | Churning Time | Freezing Time |
|---|---|---|---|
| Philadelphia-Style | 30 minutes | 20-30 minutes | 2-4 hours |
| 2-Ingredient Method | 15 minutes | No churning | 6 hours |
Pro tip: Make sure all ingredients are chilled well. This makes your ice cream smooth and creamy!
Remember, patience is key. Let your ice cream freeze fully before serving. This way, it will be scoopable and perfect.
Choosing the Right Equipment for Your Kitchen
Making homemade ice cream needs the right tools for that creamy texture. Whether you’re new or experienced, picking the right ice cream maker is key. It makes a big difference in your frozen dessert journey.

Ice Cream Maker Options and Recommendations
When looking for an ice cream maker, you’ll find many types. They fit different needs and budgets:
- Hand Crank Models: Traditional and nostalgic, but require manual effort
- Electric Crank Machines: Easier to use with consistent churning
- Freezer Bowl Models (like Cuisinart): Affordable and popular home option
- Compressor Models: Professional-grade with built-in freezing capabilities
The KitchenAid stand mixer ice cream maker attachment is great for stand mixer owners. Remember, freezer bowl models need to be frozen for at least 12 hours before use.
Making Ice Cream Without a Machine
Don’t have an ice cream maker? No worries! You can make delicious ice cream with just an electric mixer, a bowl, and your freezer. The no-machine method is easy and needs little equipment.
There are top-rated machines under $50, but if you’re on a tight budget, the no-churn method works well too. You’ll need an electric mixer, a mixing bowl, and a freezer-safe container.
Pro tip: Chill your mixing bowl and whisk beforehand to keep ingredients cold during whipping.
Creative Mix-Ins and Flavor Variations
Turning your homemade ice cream into a masterpiece is all about the mix-ins. Add 2-2½ cups of your favorite ingredients to your freshly made ice cream. This is where the magic happens.
- Baked Goods:
- Brownie chunks
- Oreo cookies
- Oatmeal cookies
- Cake pieces
- Cookie dough pieces
- Fresh Fruits:
- Strawberries
- Blueberries
- Mango
- Diced bananas
Chocolate fans, listen up! Use both cocoa powder and melted chocolate chips. This combo gives you a deep, rich chocolate flavor that’s irresistible.
| Sauce Swirls | Flavor Impact |
|---|---|
| Salted Caramel | Rich, sweet-salty contrast |
| Hot Fudge | Intense chocolate experience |
| Berry Sauce | Bright, fruity notes |
Pro tip: Mix in your ingredients when the ice cream is soft. This way, they’ll spread evenly. With over 50 flavors to try, your ice cream can be a canvas for creativity!
Experiment fearlessly – your perfect ice cream flavor is waiting to be discovered!
Tips for Achieving the Creamiest Texture
Making the perfect homemade ice cream is all about the science of texture and ingredients. You’re on a mission to create the ultimate creamy dessert. This journey depends on several key factors that turn simple ingredients into a luxurious treat.
The Role of Fat Content in Creaminess
Fat is the magic ingredient for that dreamy, smooth ice cream texture. Heavy cream contains 35% fat, which is key for a rich mouthfeel. Whole milk, with 3.5% fat, is the minimum needed for great results.
- Heavy cream adds richness and prevents icy textures
- Whole milk provides structural support to the ice cream base
- Fat molecules interfere with ice crystal formation
Preventing Ice Crystals and Achieving Smooth Results
Smooth ice cream needs careful preparation. Sugar is vital for texture by lowering the freezing point and coating air bubbles. Vanilla extract’s alcohol content also helps prevent ice-hard freezing.
- Chill your base for 2+ hours before churning
- Whip cream to soft, then stiff peaks
- Store with plastic wrap pressed directly on the surface
By following these tips, your homemade ice cream will go from simple to professional-quality. The secret is knowing how ingredients work together to create that perfect, creamy scoop.
Storing and Serving Your Homemade Ice Cream
Storing homemade ice cream needs some planning. Choose an airtight container for freezing. Quart-size containers are best for most recipes.
Here are key storage tips to keep your ice cream fresh:
- Store in airtight container in freezer for up to 6 weeks
- Press plastic wrap directly to the surface to prevent ice crystals
- Place container in the coldest part of the freezer
Your ice cream is easiest to scoop on the first day. Pro tip: After the first day, let it sit at room temperature for a few minutes. This will help it scoop better.
| Freezing Stage | Texture Result |
|---|---|
| Immediately after churning | Soft-serve texture |
| Freeze 2-4 hours | Firmer, scoopable consistency |
When serving, use a scoop warmed under hot water for smoother scoops. Add toppings like fresh fruit, nuts, or chocolate chips to make it even better.
The secret to perfect homemade ice cream is patience and proper storage!
Conclusion
Ice cream making is super easy, even for beginners. You can make delicious frozen treats quickly. Both machine and no-machine methods work great, beating store-bought ice cream.
Homemade ice cream is all about customizing. You can pick your favorite flavors. Try classic vanilla or something new. Check out Wisdom Library’s ice cream collection for ideas.
Sharing your homemade ice cream with loved ones is special. It’s a way to show your creativity. Start with vanilla and then try new flavors. Remember, even if it’s not perfect, it’s always tasty.
Now you’re an ice cream expert. You know how to mix ingredients, control texture, and create flavors. Visit Bake Choco for more baking tips. Get your ingredients ready and start making your favorite ice cream!